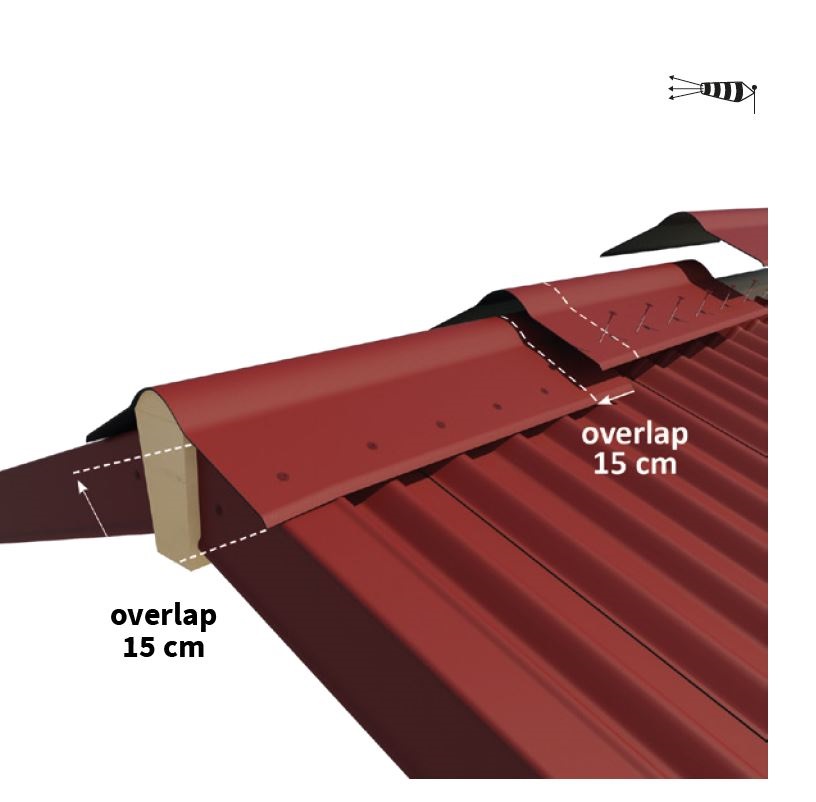
Onduline Roofing Sheets Overlap

How To Install Onduline Bitumen Roof Sheets Old Video Youtube
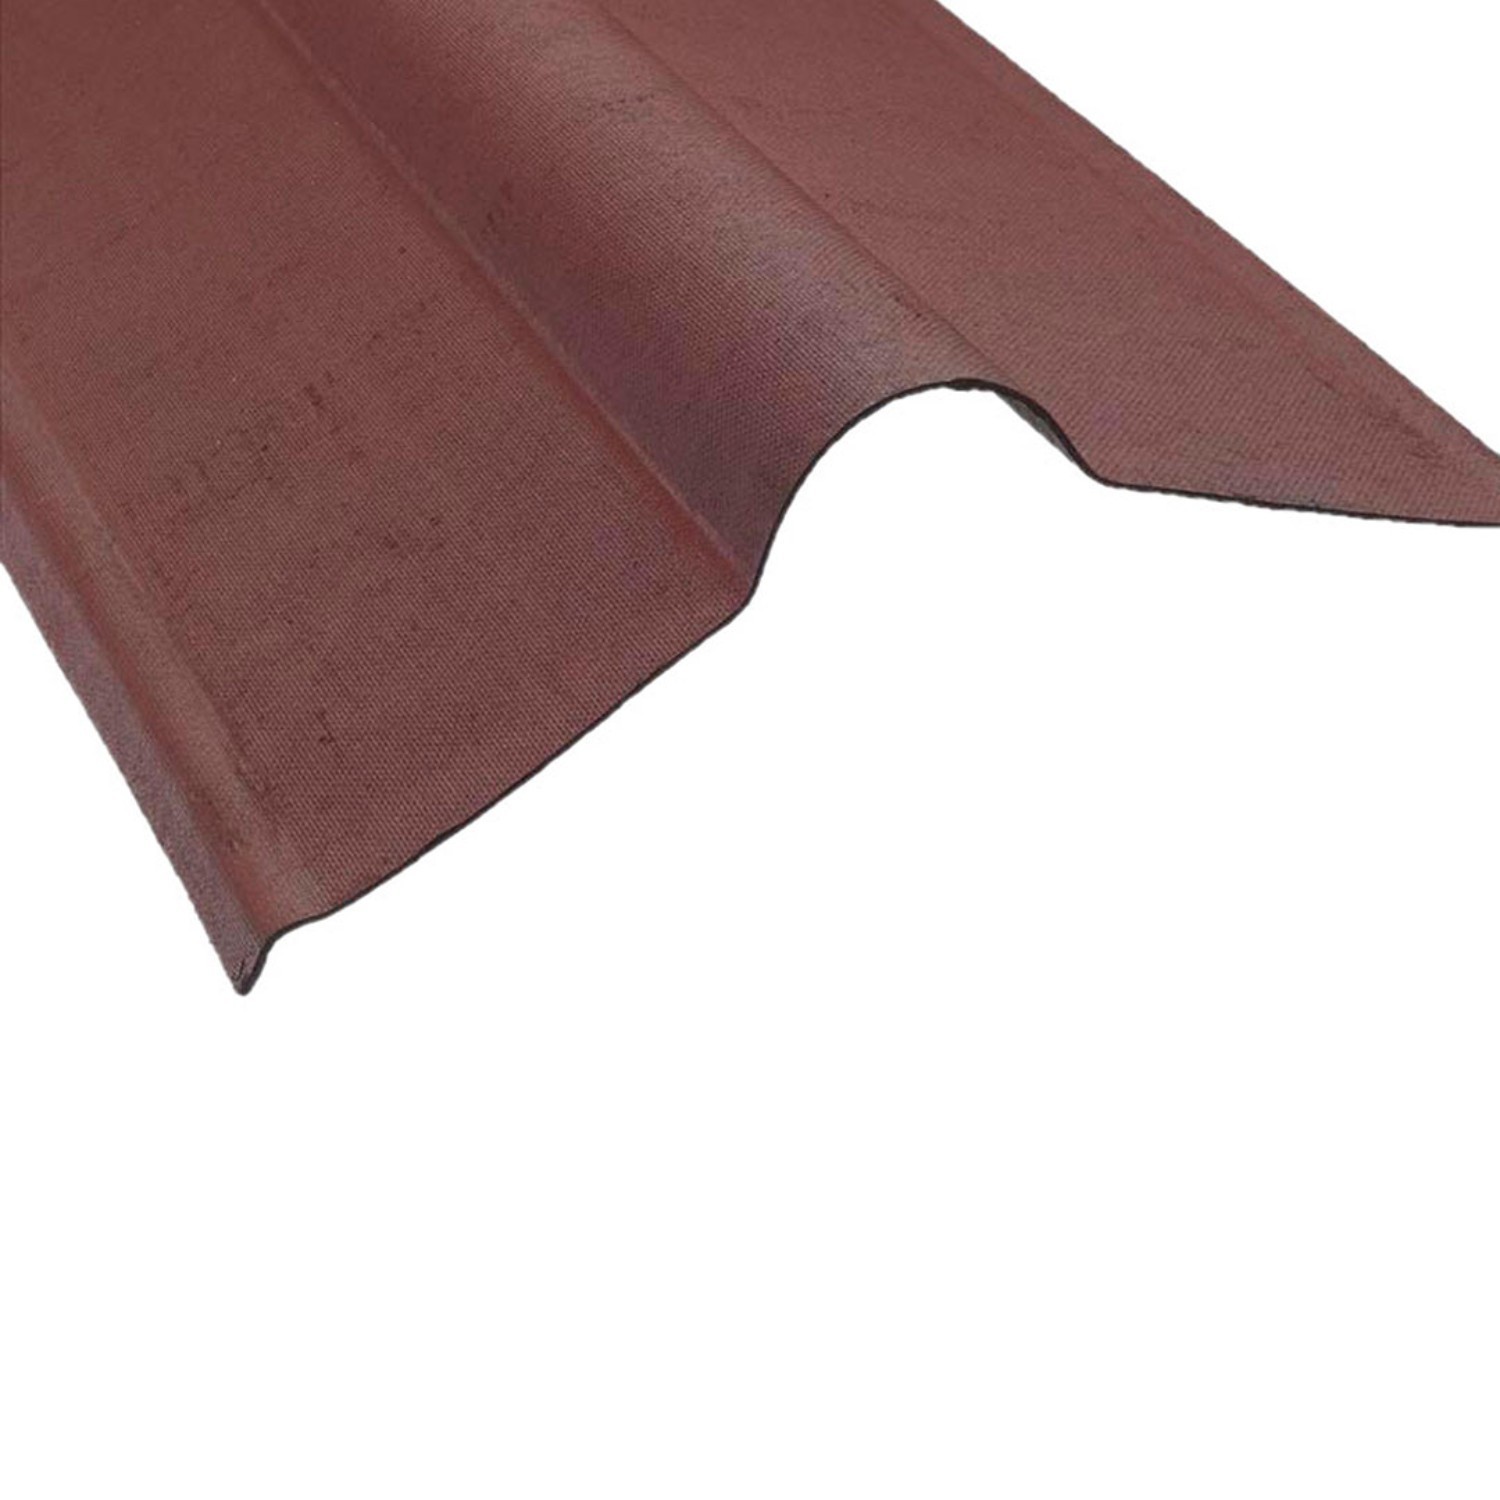
Onduline Corrugated Bitumen Roofing Sheet Black

Onduline Roofing Sheet Installation

Onduline Bitumen Sheet Installation Youtube
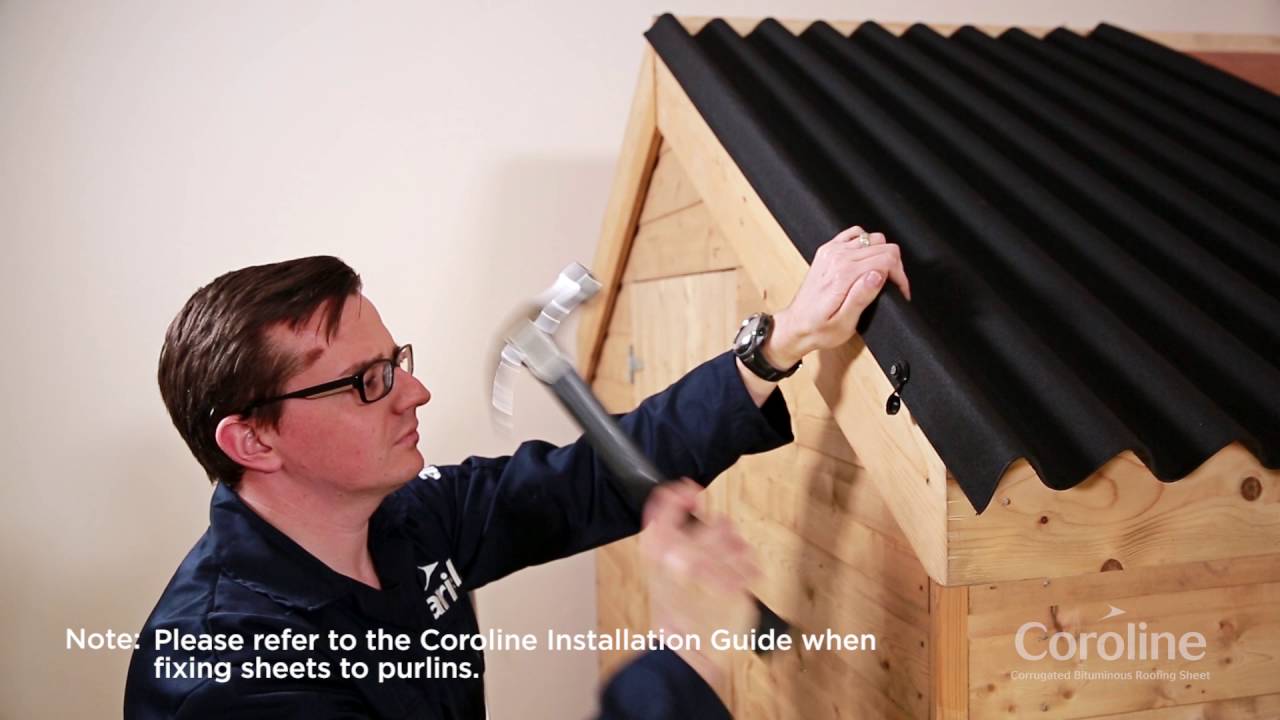
Coroline Bitumen Installation Guide Youtube

How To Re Roof A Shed With Onduline Corrugated Roofing Sheets Youtube

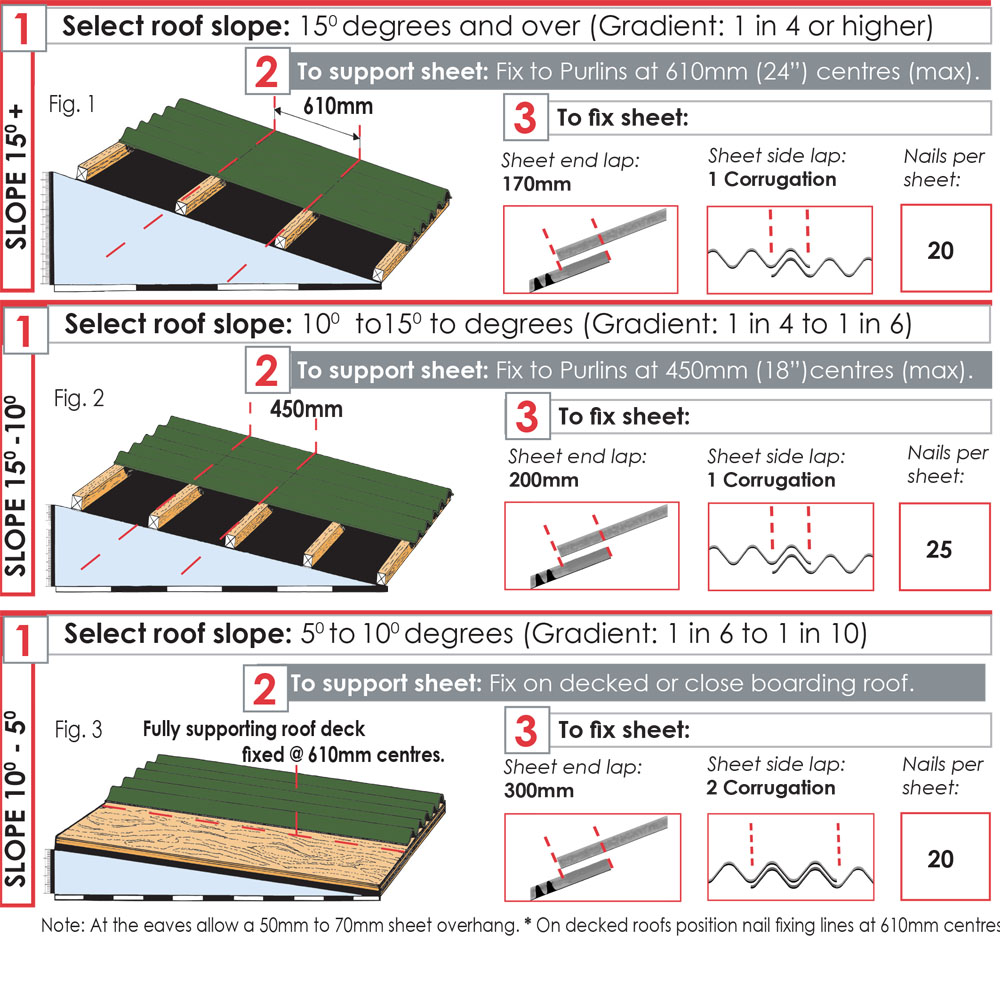
15 fixings minimum should be used per sheet.
Onduline roofing sheets overlap.

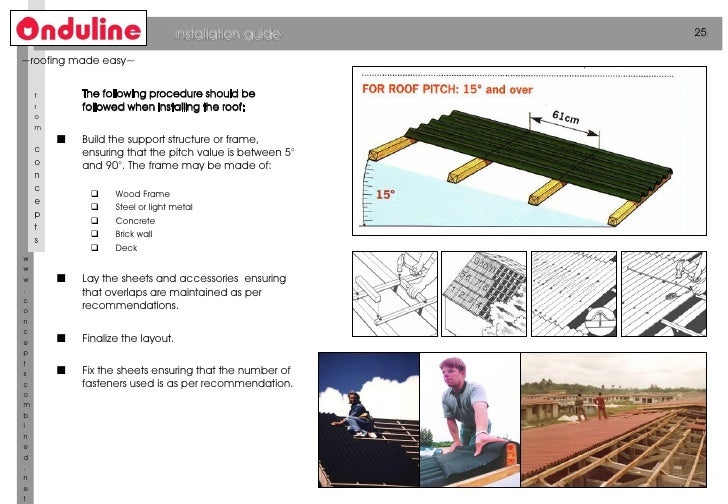
Roof Sheets Installation And Fixing Instructions Onduline

Ondura Edge Corrugated Asphalt Roofing For The Look Of Metal

Onduline Classic Sheets Installation

What Is The Minimum Pitch For Onduline Sheets

The Easy Installation Of Onduline Bitumen Roof Sheets Youtube

Onduline Roofing Sheets Waterproof Onduline Sheets Manufacturer From Chennai
Roofing Sheets Onduline Catalogue 01 04 2011

Onduline Brochure Onduline Pdf Catalogs Documentation Brochures

Perfect Best Onduline Fabrication Company In Trivandrum Affordable Onduline Fabrication Contractors Quality Onduline Fabrication Workers

What S The Difference Between Coroline And Onduline Corrugated Sheets
Easyfix Installation

Onduline Roofing Sheets Roofing Sheets Manufacturer From Navi Mumbai
Product Page
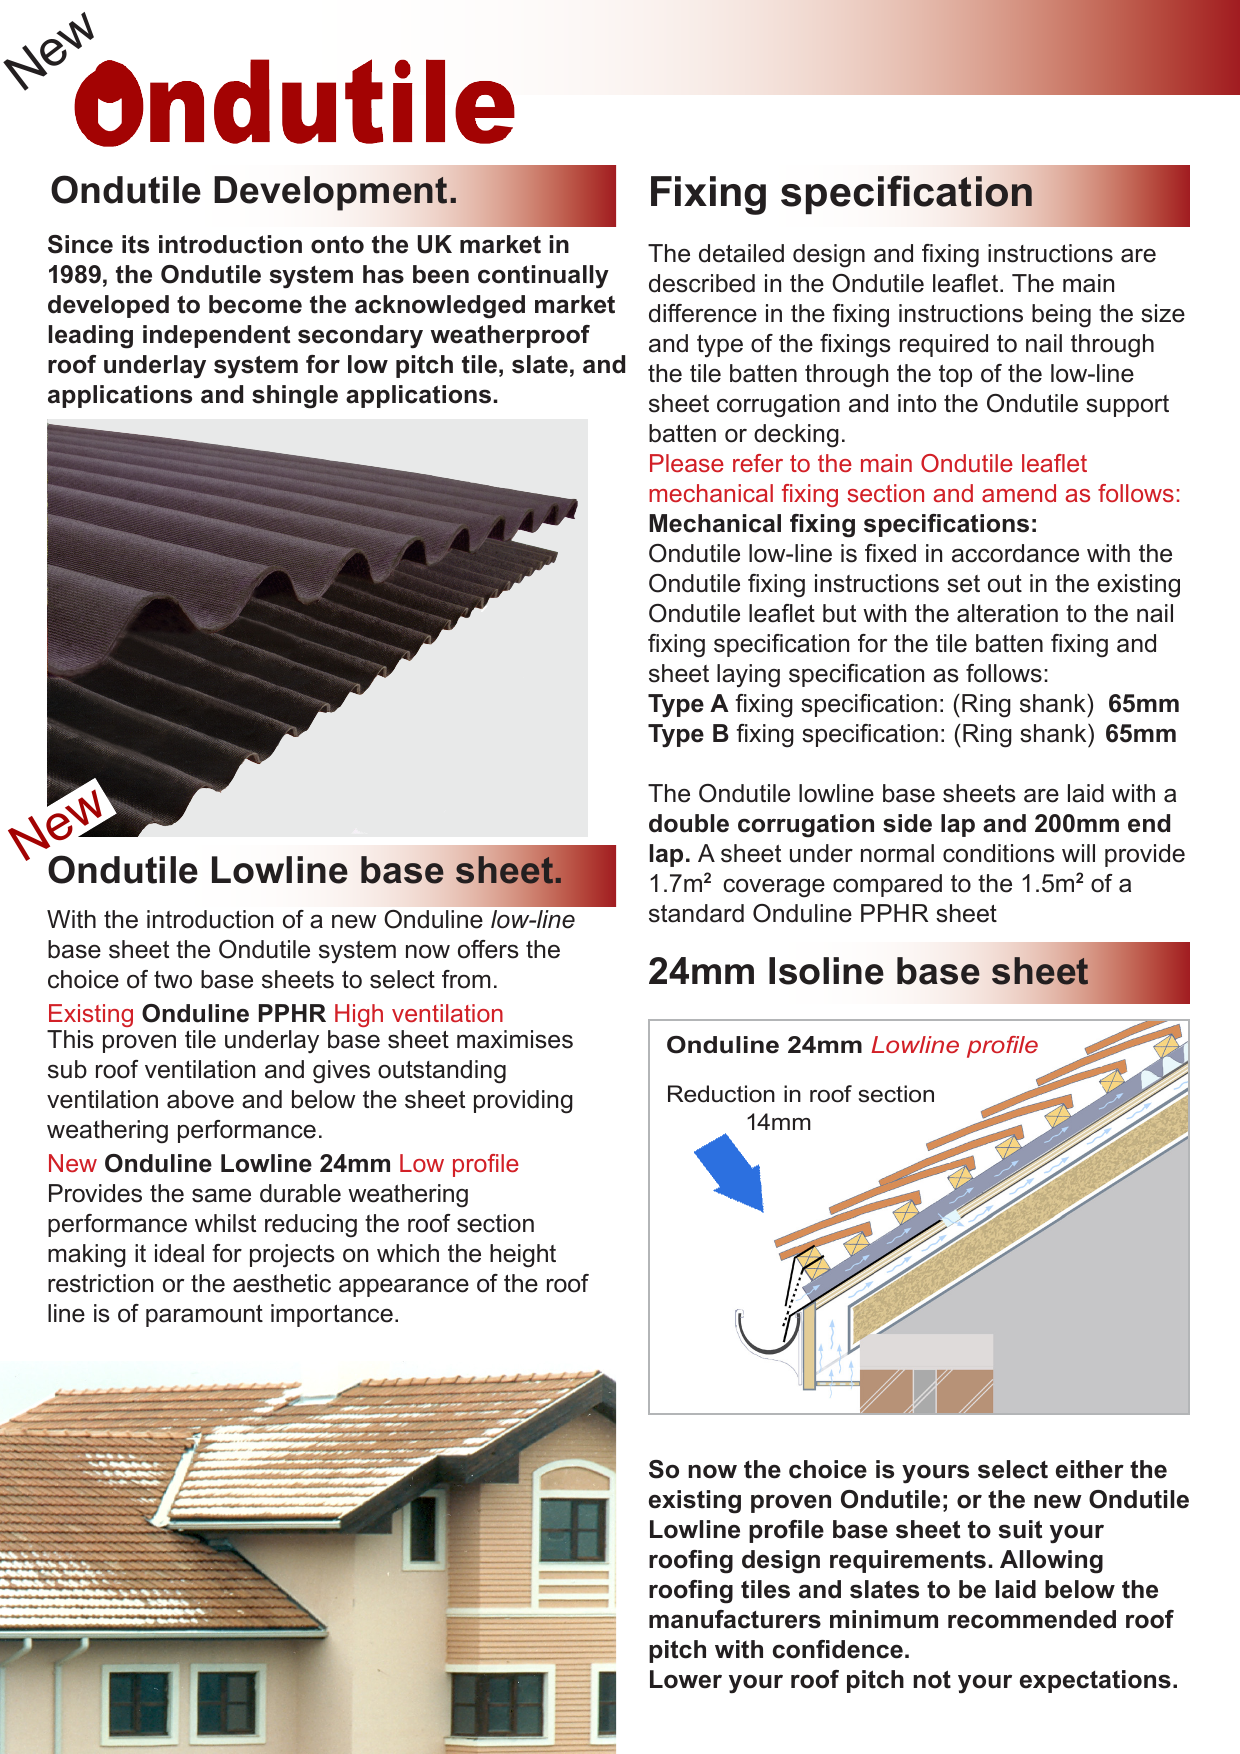
Onduline Ondutile Isoline Leaflet
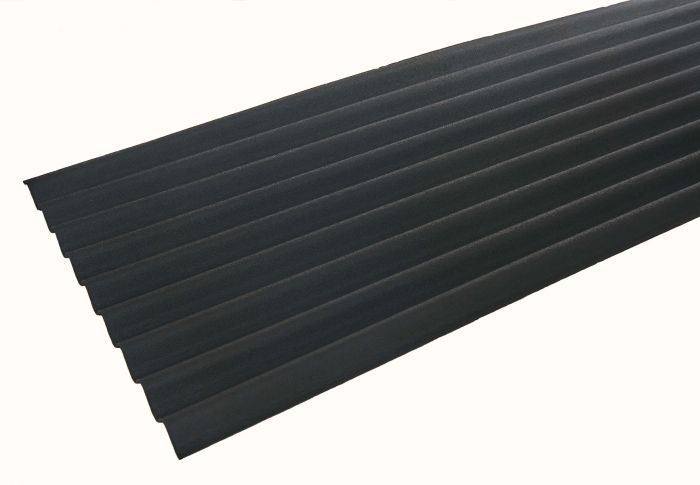
Corrugated Bitumen Roofing Sheets Black Felt Products

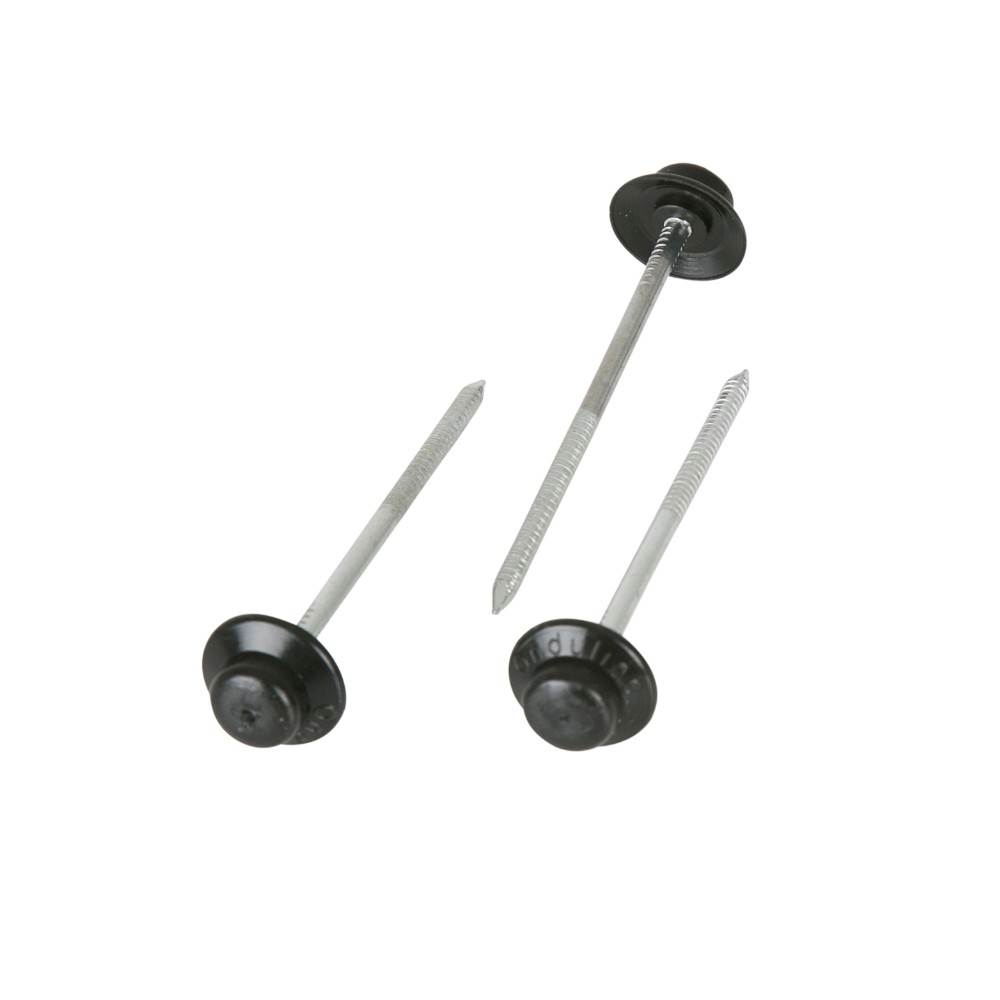
Onduline Roofing Nails Black Green Red Roof Sheet Fixing Nail Coroline Ebay

How To Fit Fibre Cement Roof Sheets Roofing Superstore Blog

Forest 6 X 8 Ft Overlap Onduline Shed Wooden Sheds Apex Shed Apex Roof
Https Encrypted Tbn0 Gstatic Com Images Q Tbn 3aand9gctlcywwbml1sczkun6fb Jobe Gvcs3evfot I Idqb3sjm Usqp Cau
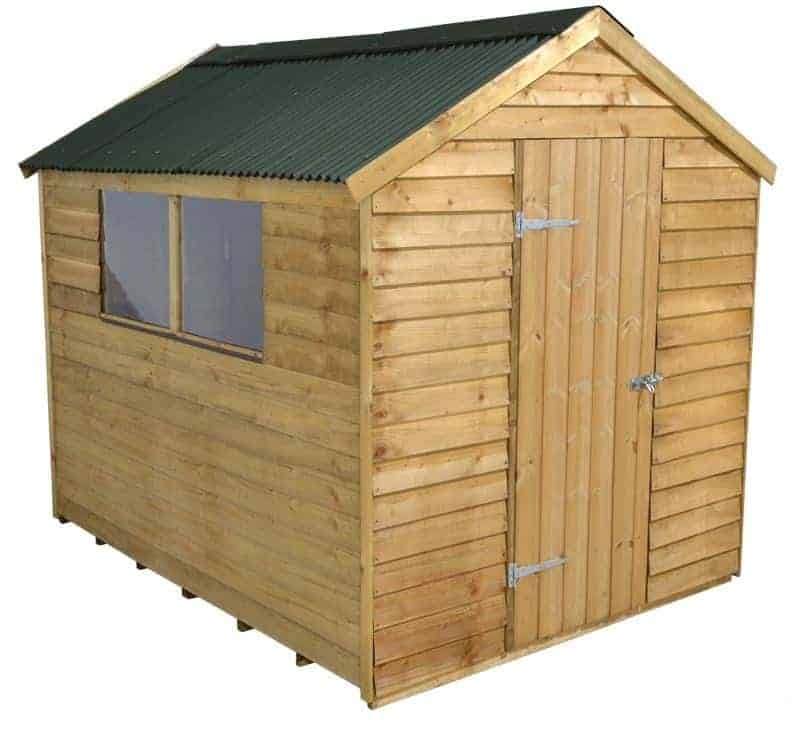
8 X 6 Shed Plus Pt Overlap Shed With Onduline Roof What Shed
Coroline Onduline Ridge Red 1000mm
Http Www Southernsheeting Co Uk Pdf Onduline 20oversheeting 20leaflet Pdf

Aluminium Fixing Onduline Sheets Width 600 1250 Mm Rs 125 Square Feet Id 4614059262

A Beginner S Guide To Garage Roof Sheets Roofing Superstore Blog
Source : pinterest.com
